Table of Contents

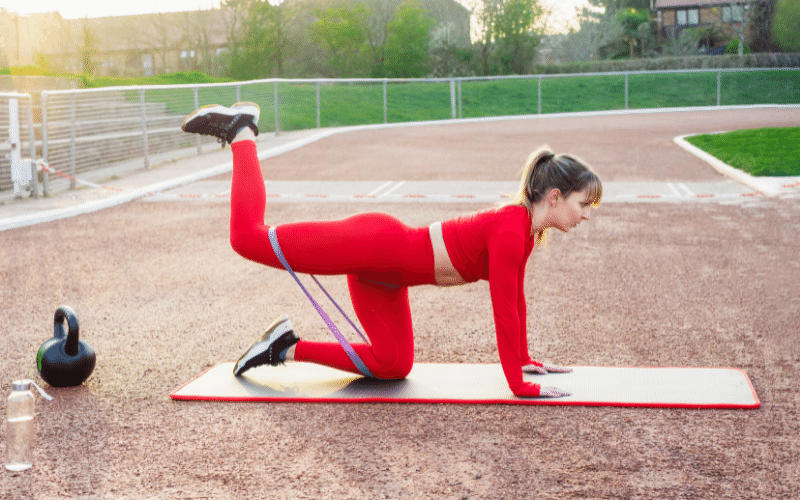
Glute Kickbacks are a great way to add variety to your leg workouts, and also work very well as a finishing movement.
Although the Glute Kickback is often considered one of the easiest exercises for isolating the glutes, it can be quite challenging if performed properly.
Glute Kickbacks Muscles Worked
Primary: Hip Extensors – gluteus maximus, hamstrings
Secondary: Hip Extensors – adductor magnus, pectineus Gluteal Muscles – gluteus medius and minimus
Benefits
Glute Kickbacks strengthen the glutes and hamstrings, which are prime hip extensors. Increasing strength in these muscle groups help improve sports performance, posture, movement efficiency, etc.
Performed at the end of a lower body workout, Glute Kickbacks can put your glutes under greater tension for maximal growth.
Glute Kickbacks are very low impact, so they can be done by anyone without risk of injury.
How to do Glute Kickbacks
Use a cable machine, gliding disc or resistance band. Grab the handle with one hand at shoulder level, taking a split stance position similar to performing rear lateral raises (toes are slightly turned out).
Slightly bend your knee and keep your upper leg in place but lean forward until you feel tension in your glute.
Your abs should also be braced at all times. Lift your leg up to hip height, and then lower it back down until the knee is slightly bent.
Repeat for reps and complete all reps on one side before switching.
Tips
Keep the majority of the weight in your front foot (heel) while balancing on the ball of your back foot (toe). This ensures that your glutes do most of the work, and not your quadriceps.
Perform all reps on one side before switching to avoid injury. This is important when using heavy resistance since your legs are already fatigued.
Glute Kickbacks with Band
Place a resistance band underneath your front foot and behind the back foot. The tension should be enough to keep your front leg from moving, but allow you to open up like a bow-legged cowboy (kidding).
Do It Standing
By standing on a stability ball, you not only work your core to maintain balance, but also increase the resistance by making it harder for your leg to extend.
Lying Down Variation
Glute Kickbacks lying with resistance band can increases the difficulty even further by removing your leg drive.
It also takes away your balance, so you have to rely on the hip extensors more to perform each rep.
Glute Kickbacks at Home
If you don’t have access to a cable machine, gliding discs or resistance bands, try these beginner Glute Kickbacks lying when you can.
This simple home exercise is great for beginners who need to isolate the glutes and work on balance at the same time.
First: Lie down with your back on an elevated surface such as a bench or ball
Second: Bend one knee and place that foot flat on the floor slightly in front of you
Third: Lift your bent leg up so it forms a 90-degree angle with your torso
Fourth: Slowly raise and lower your leg for reps. Be sure to keep your abs contracted at all times, and do not allow the core to rotate or sag with the leg.
If this is too difficult, try moving your foot further away from you until you can successfully lift and lower it.
Glute Kickbacks Alternatives
Elevated Glute Kickback – place feet on a bench or plyometric box for increased range of motion.
Side Laying Hip Abduction – lie on your side with lower leg bent and foot resting on floor. Perform one Leg Glute Kickback as described above.
RKC Plank – hold a static plank for time, and focus on contracting your glutes as hard as possible without arching or sagging your low back.
Glute Bridge – perform with both feet on the ground or single leg. Control the movement so that it’s smooth and deliberate, hold at the top for a second.
Bridge March – perform with both feet on the ground or single leg, alternating legs. Control the movement so that it’s smooth and deliberate, hold at the top for a second.
[wp-stealth-ads rows=”2″ mobile-rows=”2″]

